
The Edit tool opens automatically on the left side of the Page Builder whenever you click on an editable Element within the open page of your website. It lets you change content that already exists or that you've placed on your website directly, including text, images, buttons, backgrounds, forms, and others.
How to Use the Edit Tool
The Edit tool can always be found in the left-side menu when working inside any website template you've opened. The quickest and easiest way to open the edit options for any Element on your site is by simply clicking on the Element directly inside the Builder's viewer:
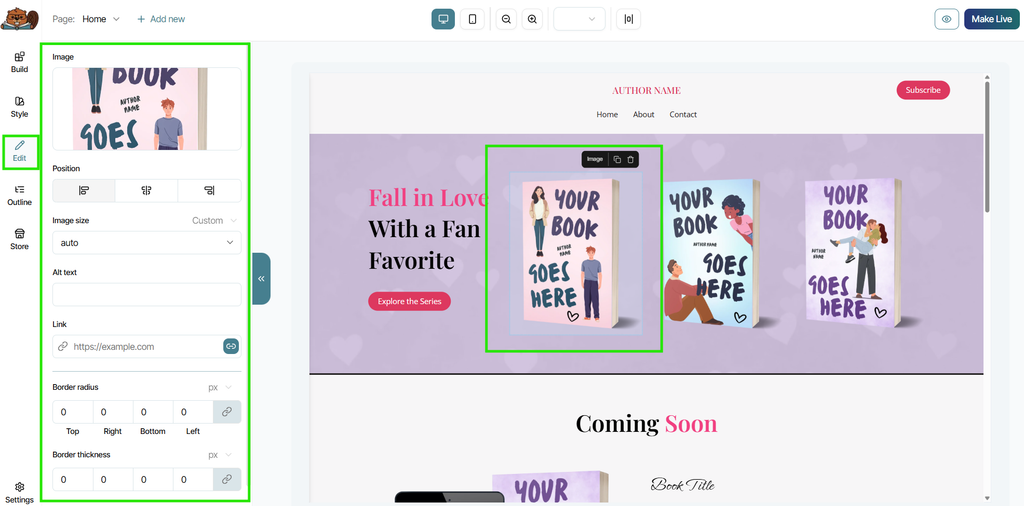
Clicking on a placed Element will automatically open the Edit tool to show all the available edit options for that particular Element on the left-hand side. Any changes you make to the Element within that left-side menu will automatically appear in the viewer in real-time.
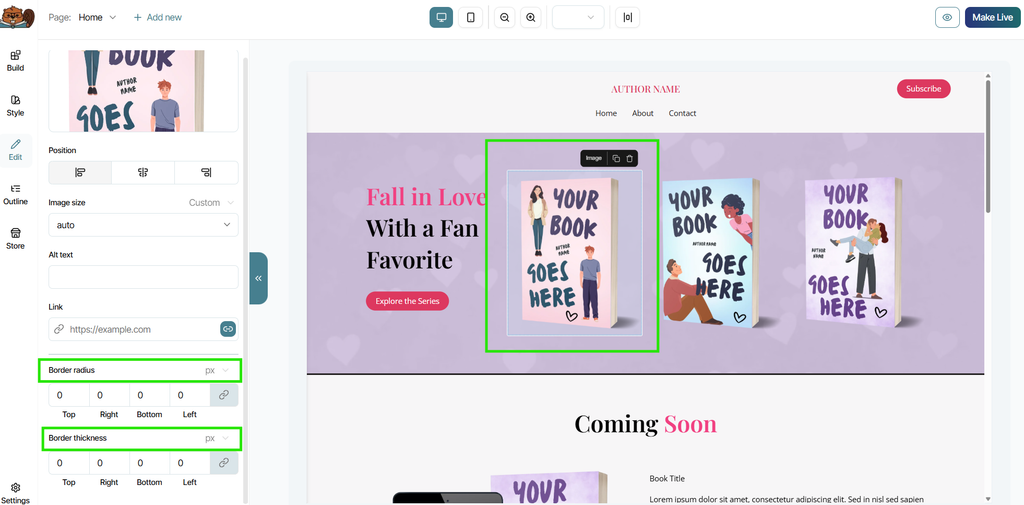
Every pre-built template that you modify was created with the pre-built Elements found under the "Build" tool. These Elements have helpful settings and guardrails already built into them to make the building and editing process easier and to better ensure your website is constructed correctly. This is why some Elements have settings that can't be altered. For example, an image Element's Border Radius and Border Thickness settings are locked into units of pixels:
When editing an Element that exists inside a template you may have chosen to use for your own author website, you don't need to delete Elements from that template in order to change them. Most often, you can simply replace what's already there. For example, when it comes to replacing images inside a template with your own images, don't delete the entire image Element by clicking the trash can icon that appears over the image when it's selected; instead, navigate over to the image Element's left-side Edit options to find where the image file has been uploaded, and simply remove it there and upload your own image file instead. The Builder will upload your image directly in place of the old template image.
You can do the same with nearly all Elements in a template—you don't need to delete any Elements if you'd still like to use them, just replace their content or adjust their design settings.
How Style Settings Affect Edit Options
If you haven't had a chance to learn how the Style Tool works, be sure to check out this support article detailing how it's used. In brief, the Style Tool is used to set universal design settings for your website, from typography to colors to button design and more, so that any settings you adjust within Style will automatically apply to the related Elements with those settings that have been added anywhere across your site. This makes updating your site quick and easy and helps to make sure you don't miss updating any part of it.
Though your Style settings do automatically override individual Edit settings when a new Element is place, there will be some instances in which you don't want an Element to always adhere to your set Styles. This most often occurs with text, as it's common to want to adjust settings such as font size, font type, and more, but while still using it as a Hero Title or Section Title that you've set up in Styles.
Rich Text elements are built so that you can change these types of settings without the text disconnecting from your Style settings. So if you, for example, add a Section Title at your Style-set font size of 46pt, but decide you'd like to make it 60pt in just this single section, you can do so within the Edit settings of the text and still maintain its properties as a Section Title.
On the other hand, individually adjusting Edit settings like color will completely override and detach that Element's color from your Style settings, so that when you adjust a Style color, it doesn't change the color of an Element you deliberately adjusted to be a different color in that one instance. For example, if you decide you'd like to manually make a single section background a color that isn't found within your Style color settings, it will always remain that color until you directly and manually change it again, as it will not be connected to your Style settings in any way.
Helpful Edit Tips
Click carefully. The Edit menu changes based on which Element you've clicked on. If the edit options in the left-side menu don't seem to match the Element you've clicked on, it could be because you haven't quite clicked where you think you have. You'll know which Element is selected when you a blue border remains on the Element after being clicked, and the name of the Element type appears in the right upper corner of your selection. If you're having trouble selecting a specific Element, using the Outline Tool to select the one you want instead can help. Learn more about the Outline Tool here.
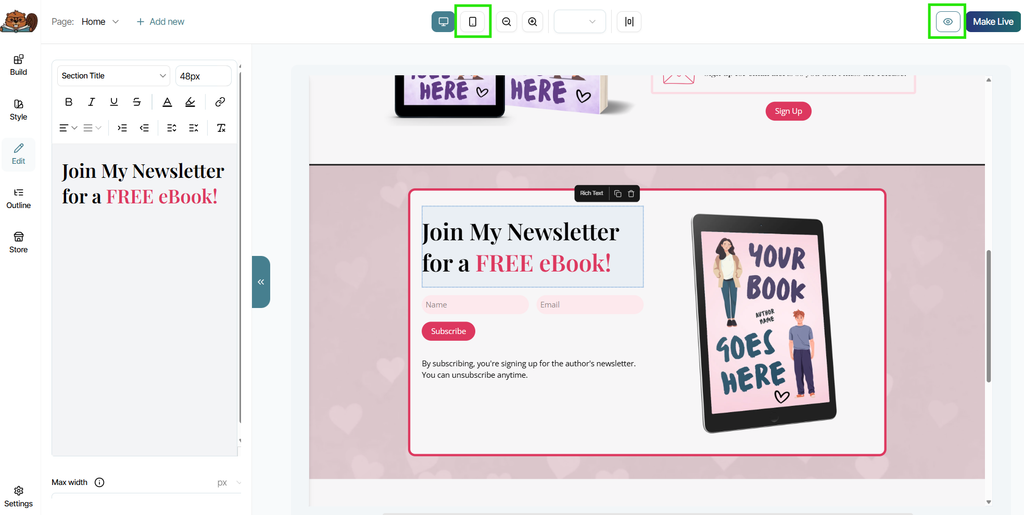
Preview as you go. If at anytime you'd like to see what your most recent edits to the page would look like for a real visitor to your site, click on the eye icon button in the upper right corner of the Builder to open a preview page of your website. This will show all the recent edits you've made across your site, even if you haven't published them live yet. Keep in mind that this preview is just a rough estimation based on the unique settings of your own screen size and browser settings, and results will vary from user to user. Even so, the previewer will give you a much more accurate look at your layout and edits than the Builder viewer can. The same goes for the mobile previewer—be sure to check it alongside the desktop previewer as you work.
Use Ctrl+z (or Command+z) to undo edits. Did you just make an edit you're not entirely satisfied with? The "Undo" command will work inside the editor for most small adjustments like editing text, changing colors, duplicating elements, or deleting items. However, if you've taken multiple large actions in the Builder that you're attempting to undo, the Builder's auto-save function may interfere with undoing too many actions that are too large. In these cases, reach out to our support team at support@thebookshelf.io so we can see about restoring a previous version of your project back to your account.
The Edit tool gives you the freedom and flexibility to customize individual Elements, whether its their design or their content, across your website as much or as little as you'd like. Be sure to click through various types of Elements to explore what editing options each one offers, and if you need any help achieving just the right touch, feel free to reach out to our team at support@thebookshelf.io.